緣由
上一篇 網誌建完之後只有基本的樣式
可能有額外需求要設定,固寫在此篇
備份
hexo-cli 只上傳轉換後的 html 檔
如需要備份 markdown 原始檔與專案設定檔可安裝 hexo-git-backup
安裝
1
$ npm i hexo-git-backup
_config.yml 增加設定:
1
2
3
4
backup:
type: git
repository:
github: http://github.com/yourname/yourname.github.io.git,branchname這裡的 “yourname” 改成你的 github 帳號
“branchname” 改成備份的 branch name設定完就能下指令備份:
1
$ hexo b
壓縮靜態網頁
這邊是用 hexo-yam
直接下指令安裝:
1 | $ npm install hexo-yam |
安裝完預設就會會啟動了,無須另外設定
如需特調細項可再去 _config.yml 做額外設定
分享功能
進入文章後預設底下會有 error 區塊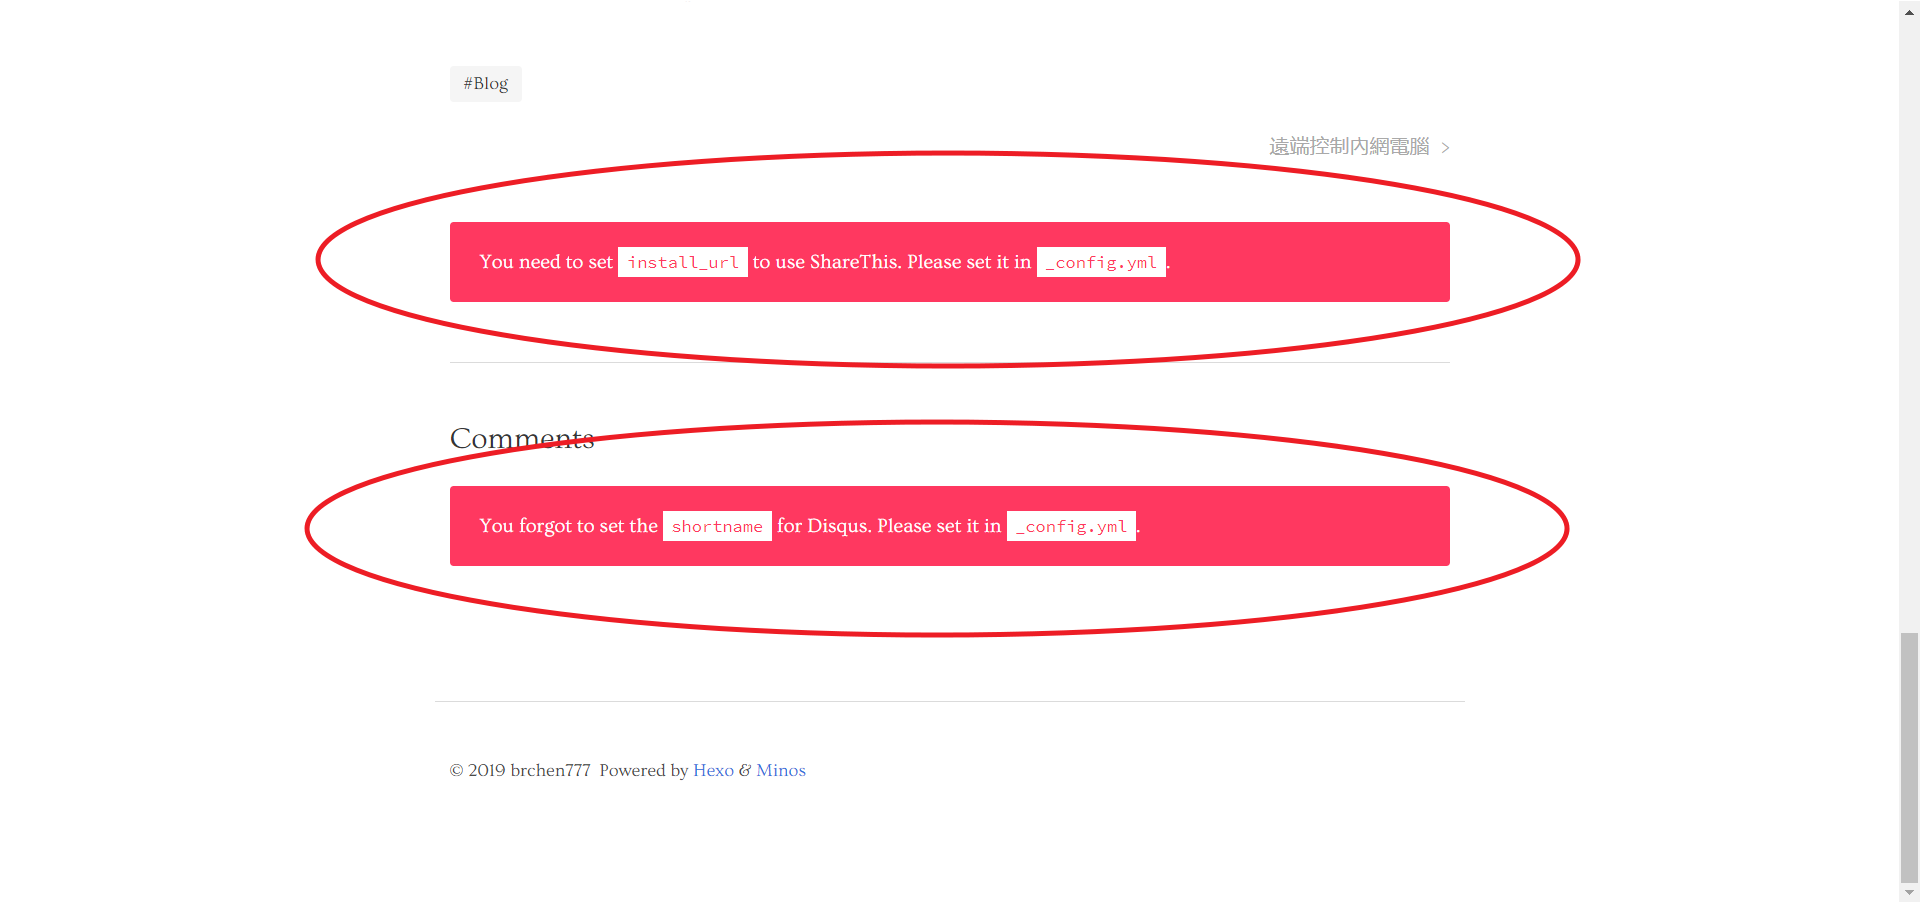
我們可以參考專案的 /themes/minos/_config.yml 檔案
minos 的分享預設是用 sharethis
註冊一個帳號
以 Domain 新增一筆 Property

選擇一個想使用的樣式,裡面可再做細項設定

設定好樣式後點選 “Get the Code”
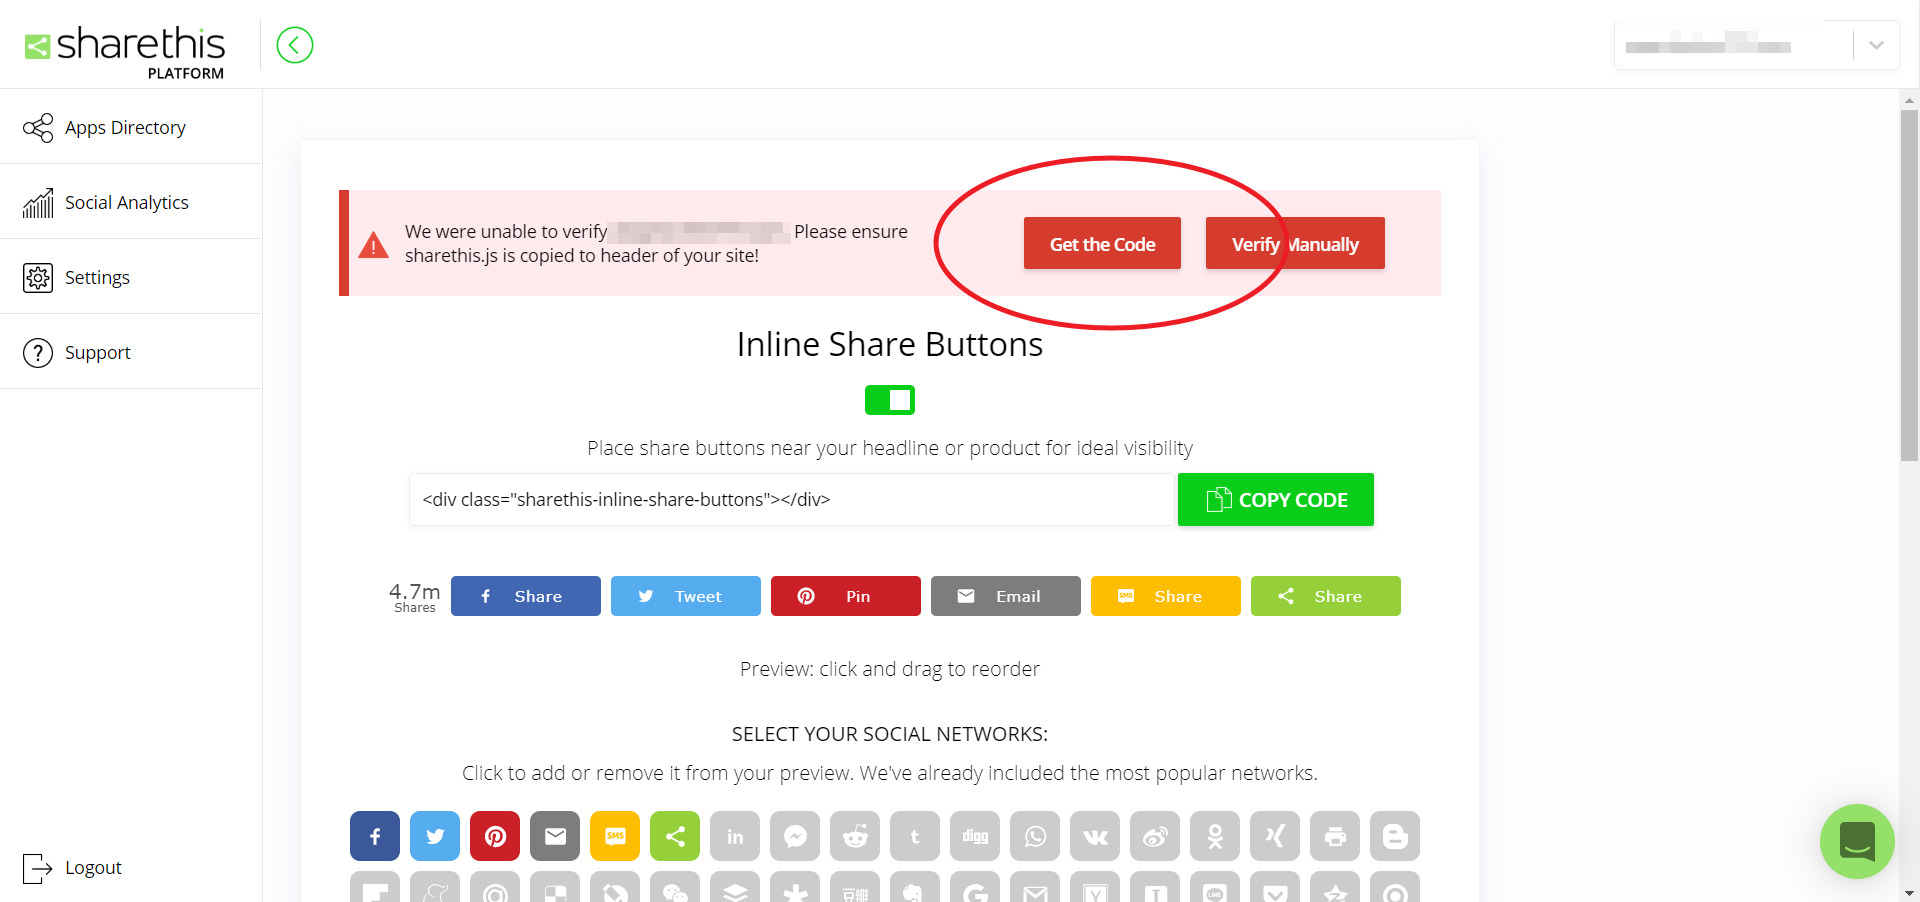
複製 js code 的 “src” 的部分 (只要網址就好,不用整個 code)
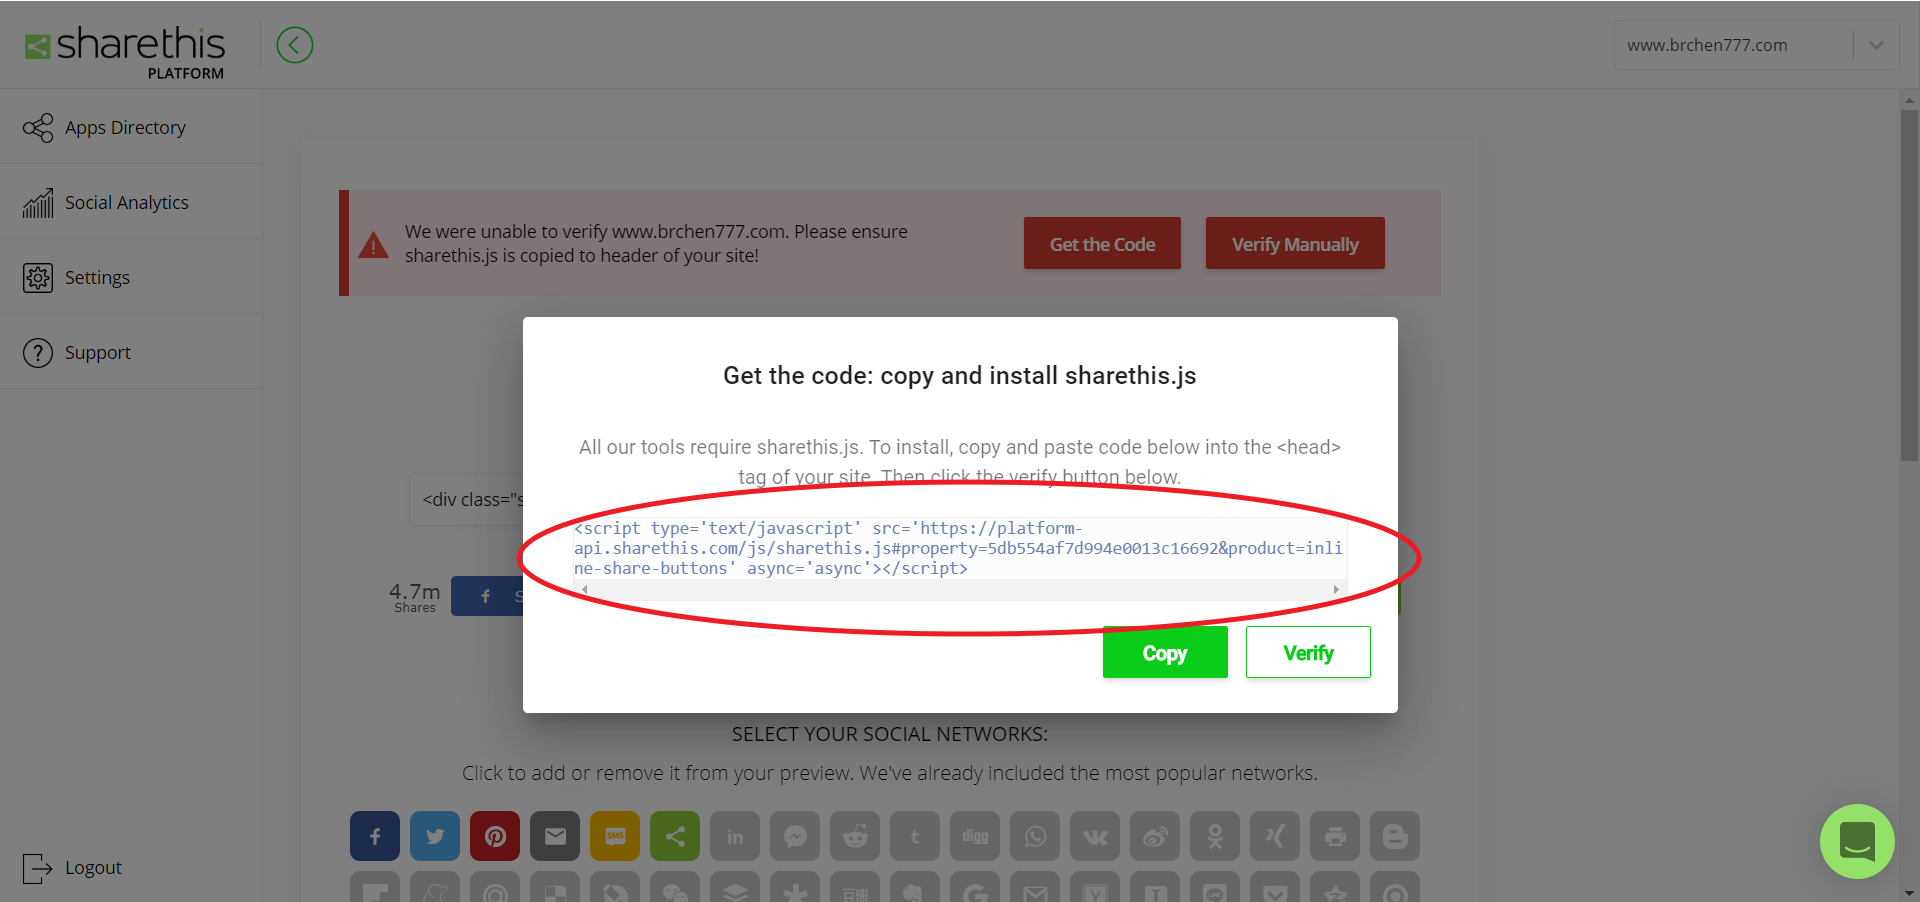
網址複製到 /themes/minos/_config.yml 的 “share” 的 “install_url”
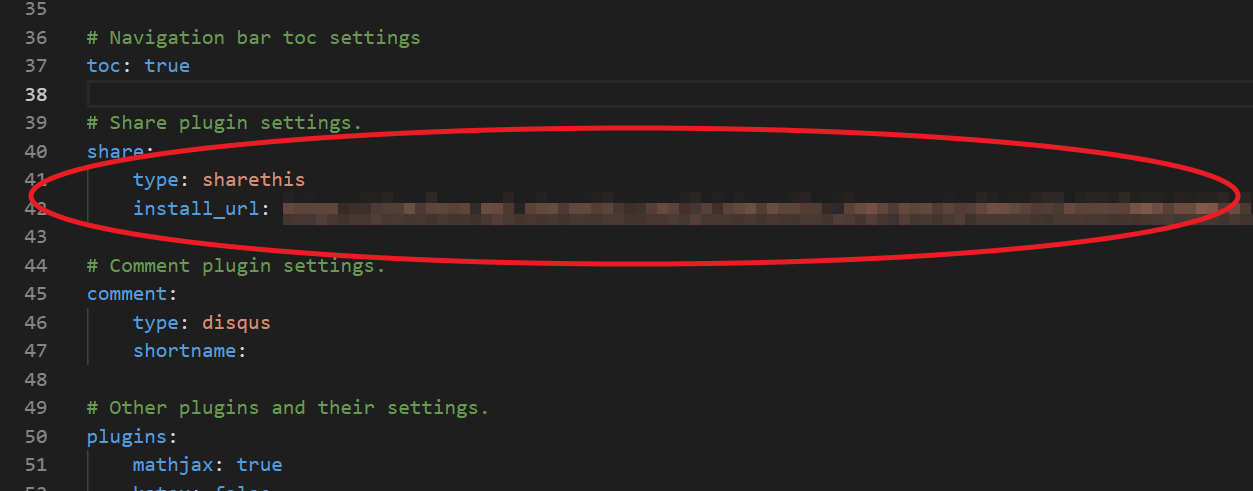
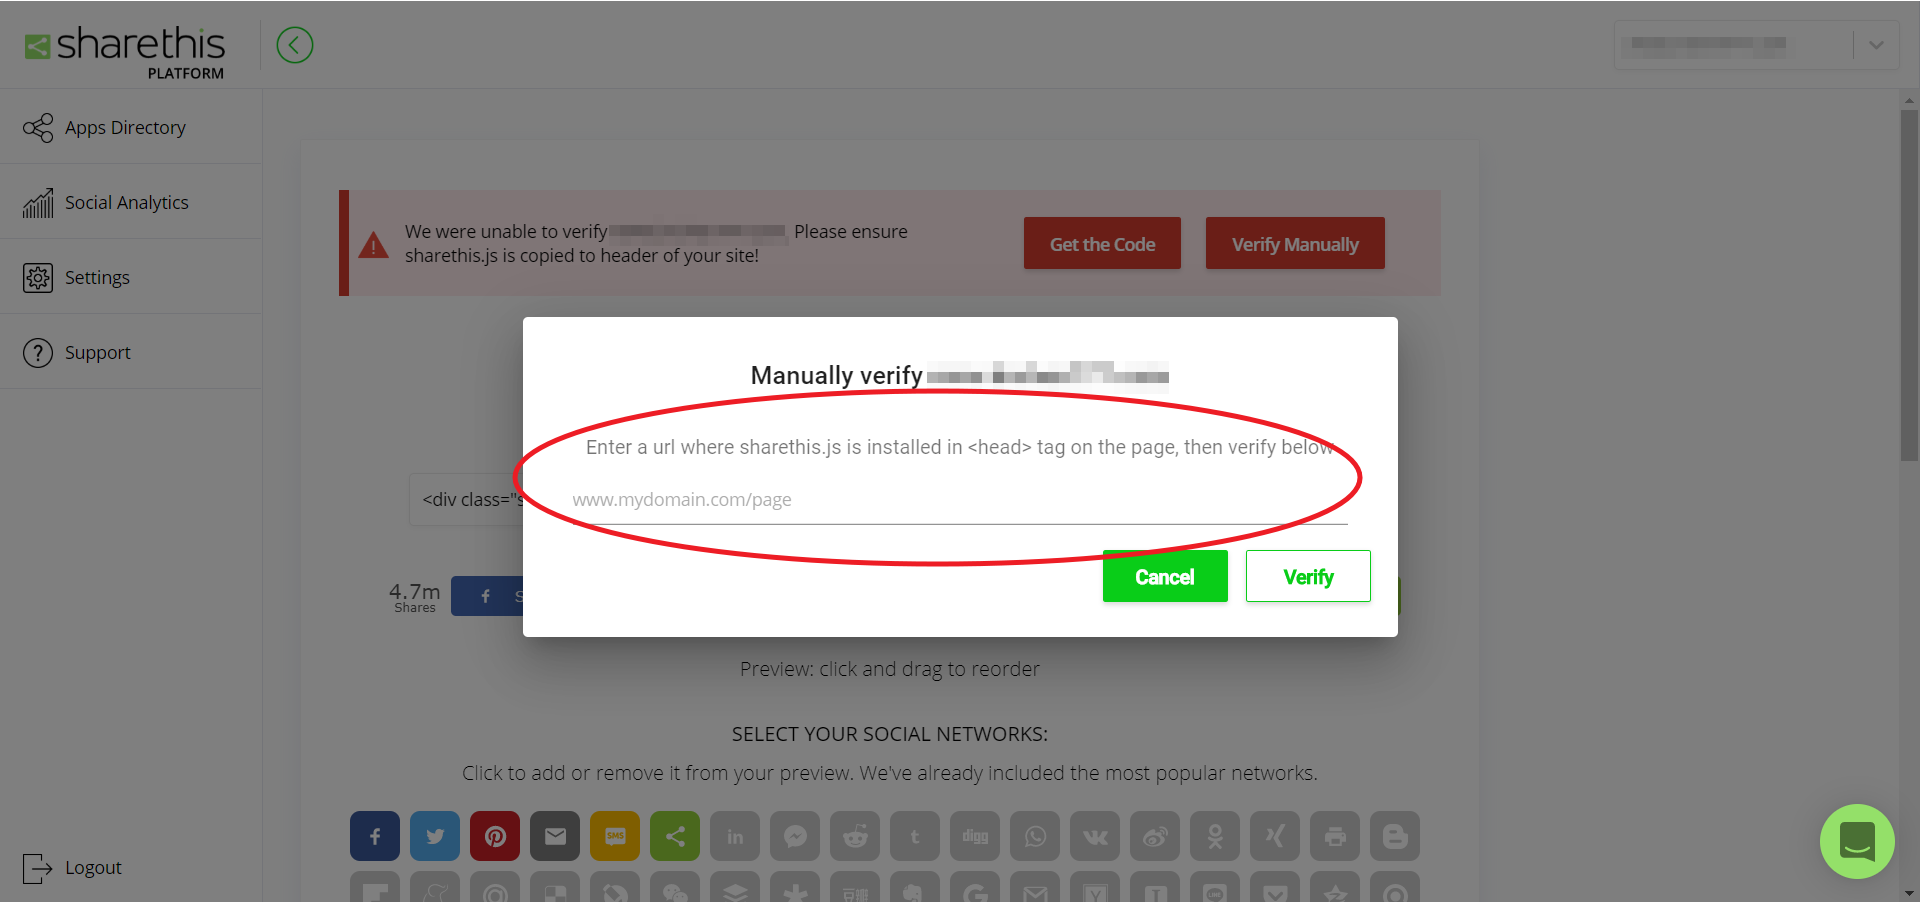
專案 deploy 後點選 “Verify Manually”
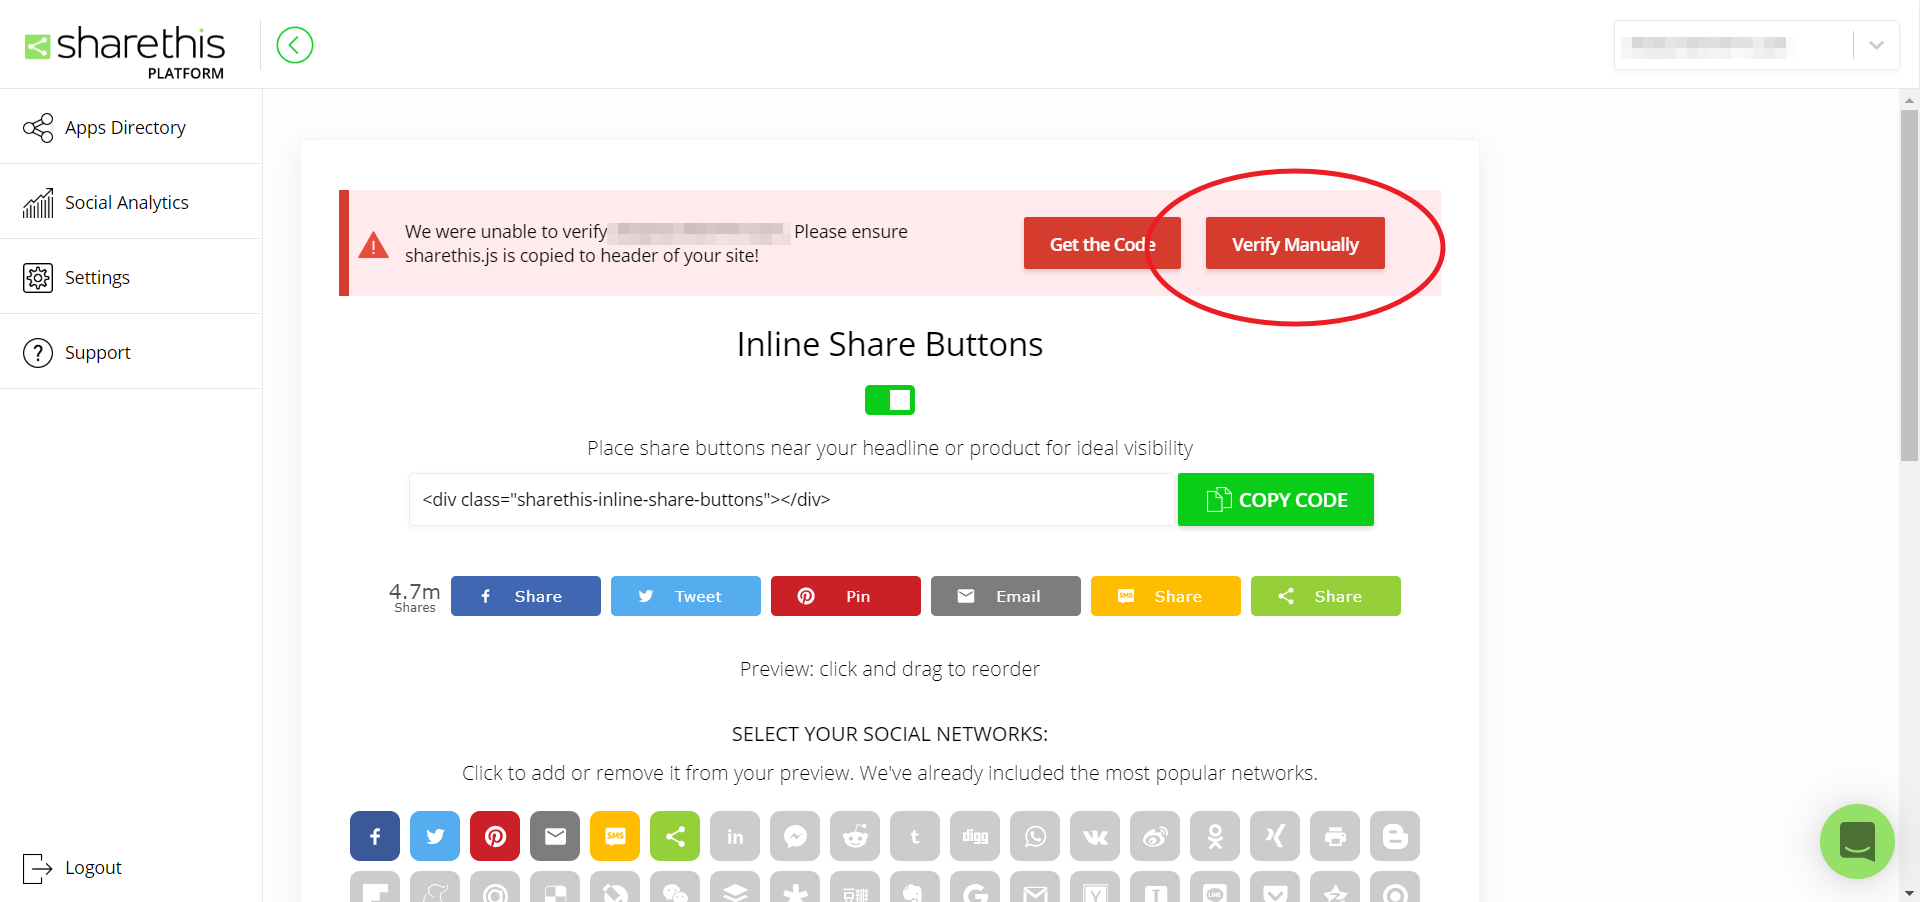
把線上站隨便一篇的網址複製過來進行檢測,檢測成功的話紅色區快會消失
設置成功的話網誌倒數第二塊會出現分享功能

留言功能
minos 的分享預設是用 disqus
註冊一個帳號
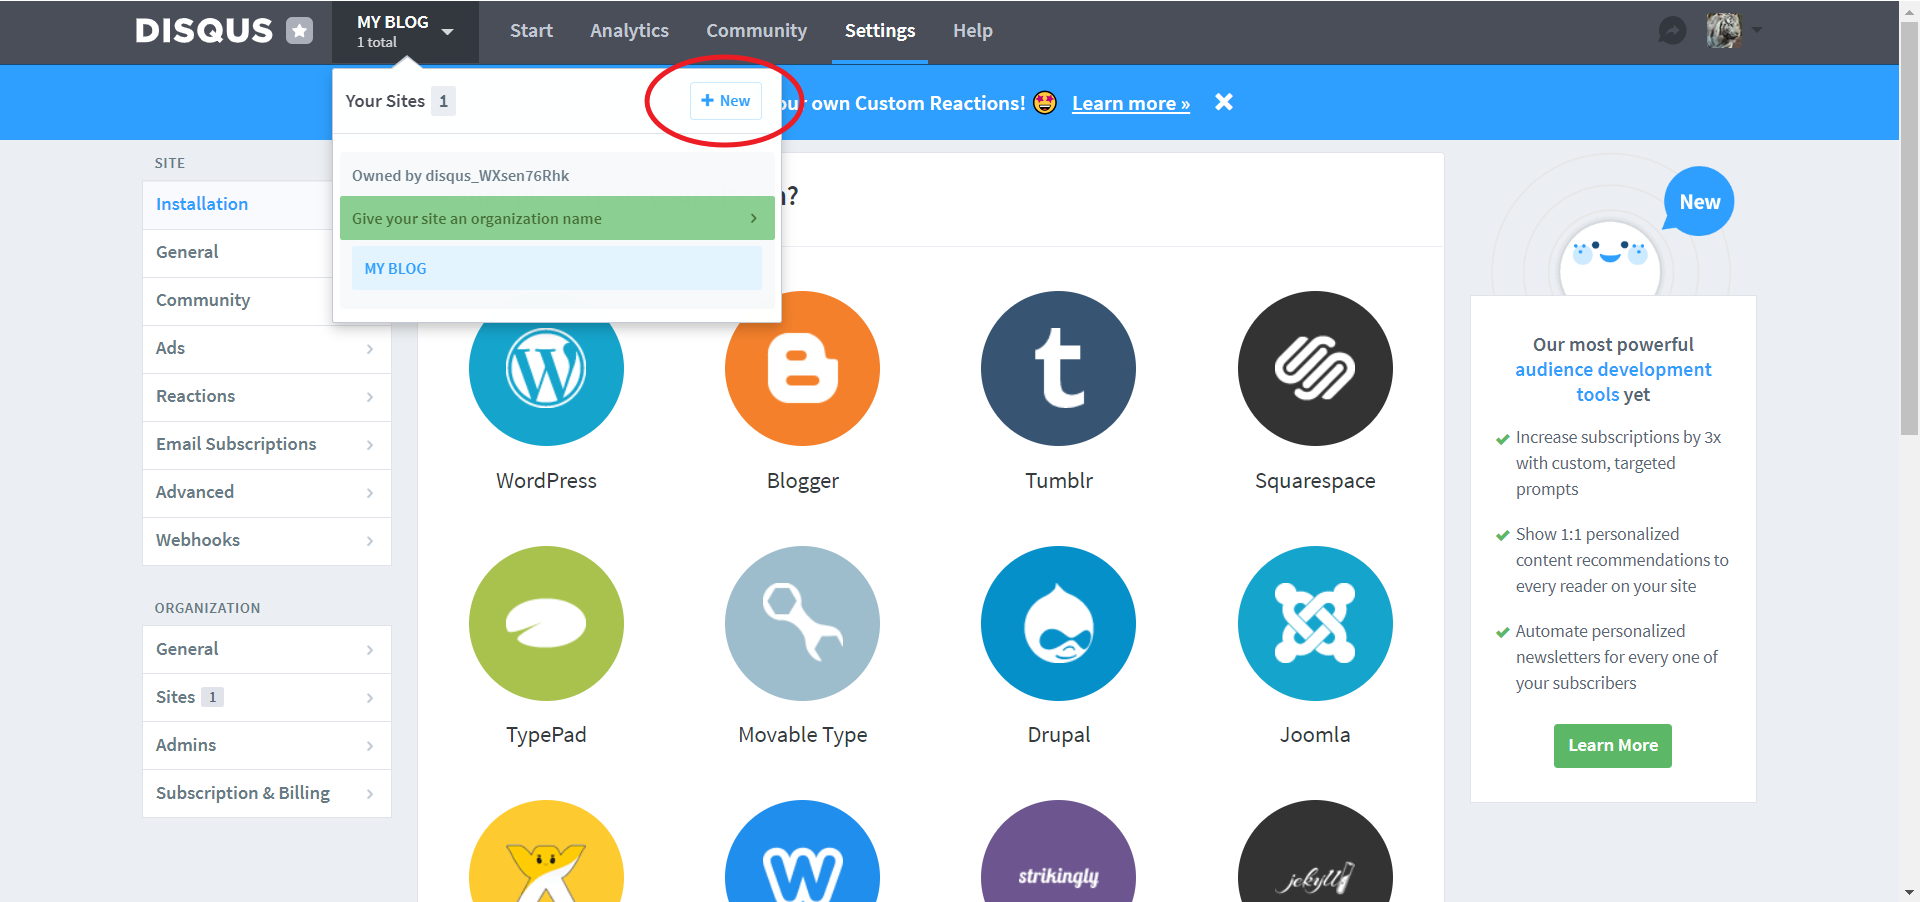
新增一個 Site
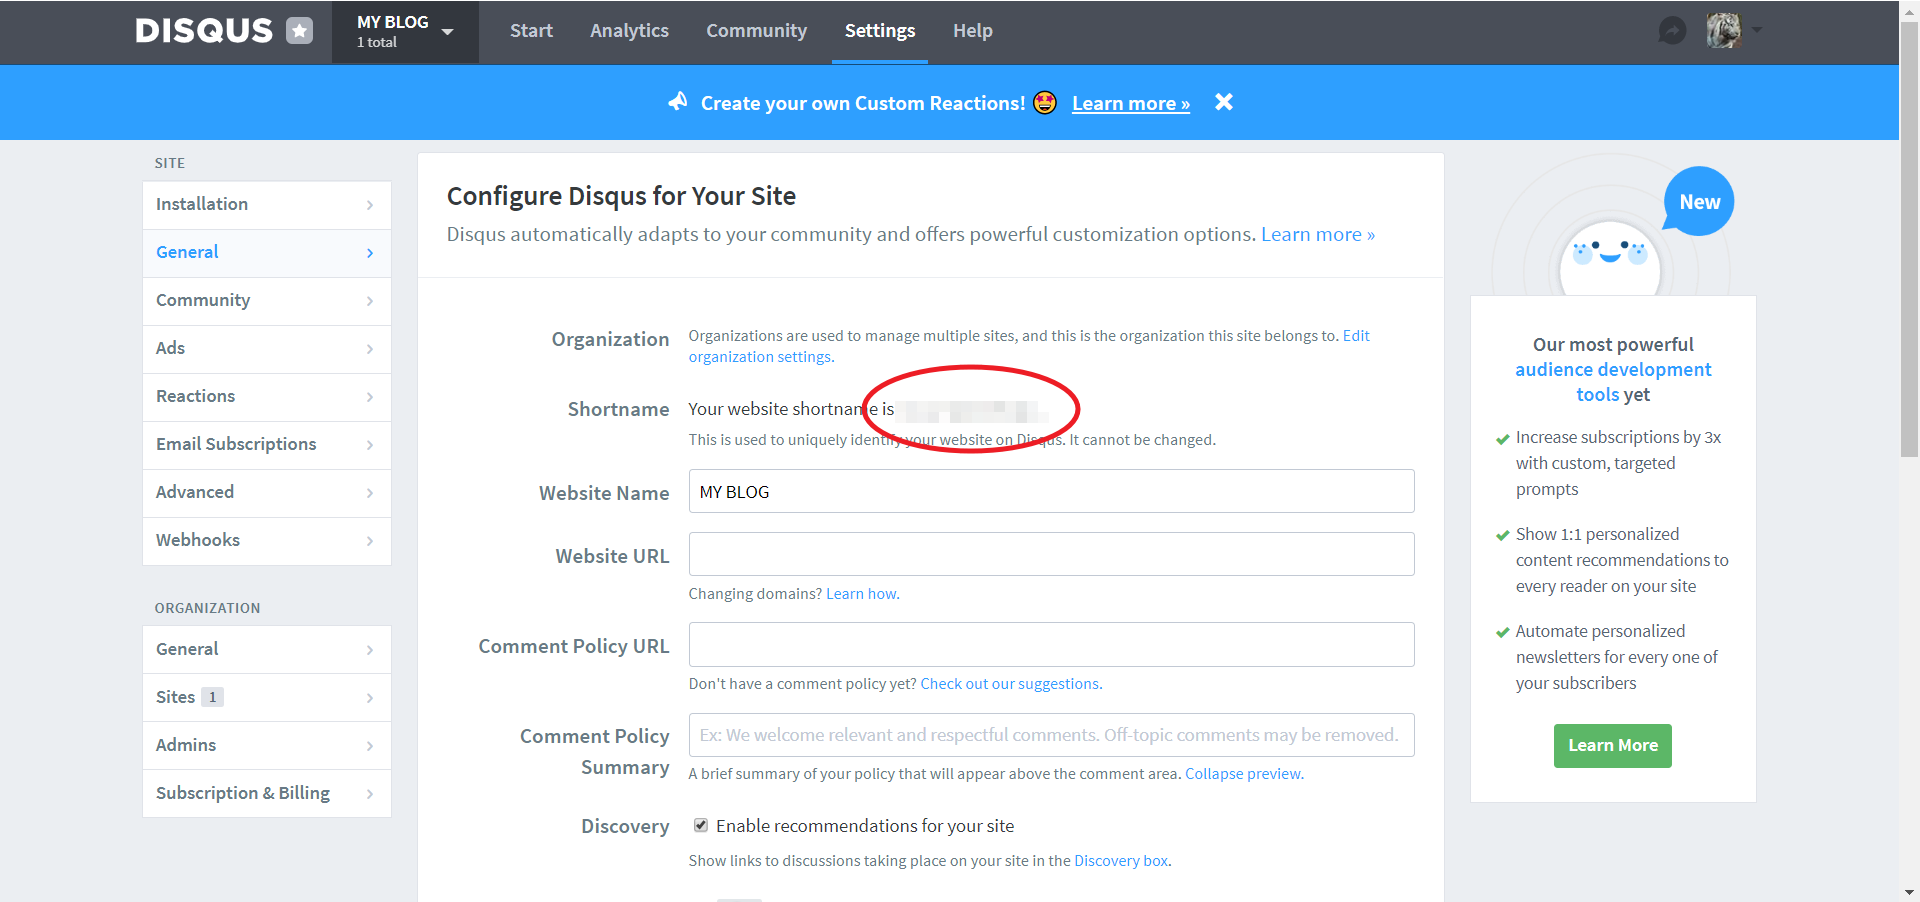
新增完後點選 “general” 並複製 “Shortname” 欄位
short name 貼到 /themes/minos/_config.yml 的 “comment” 的 “install_url”
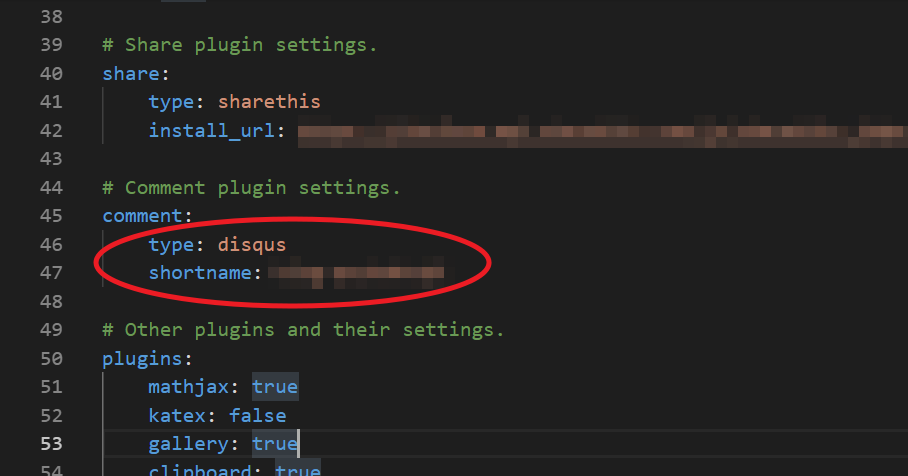
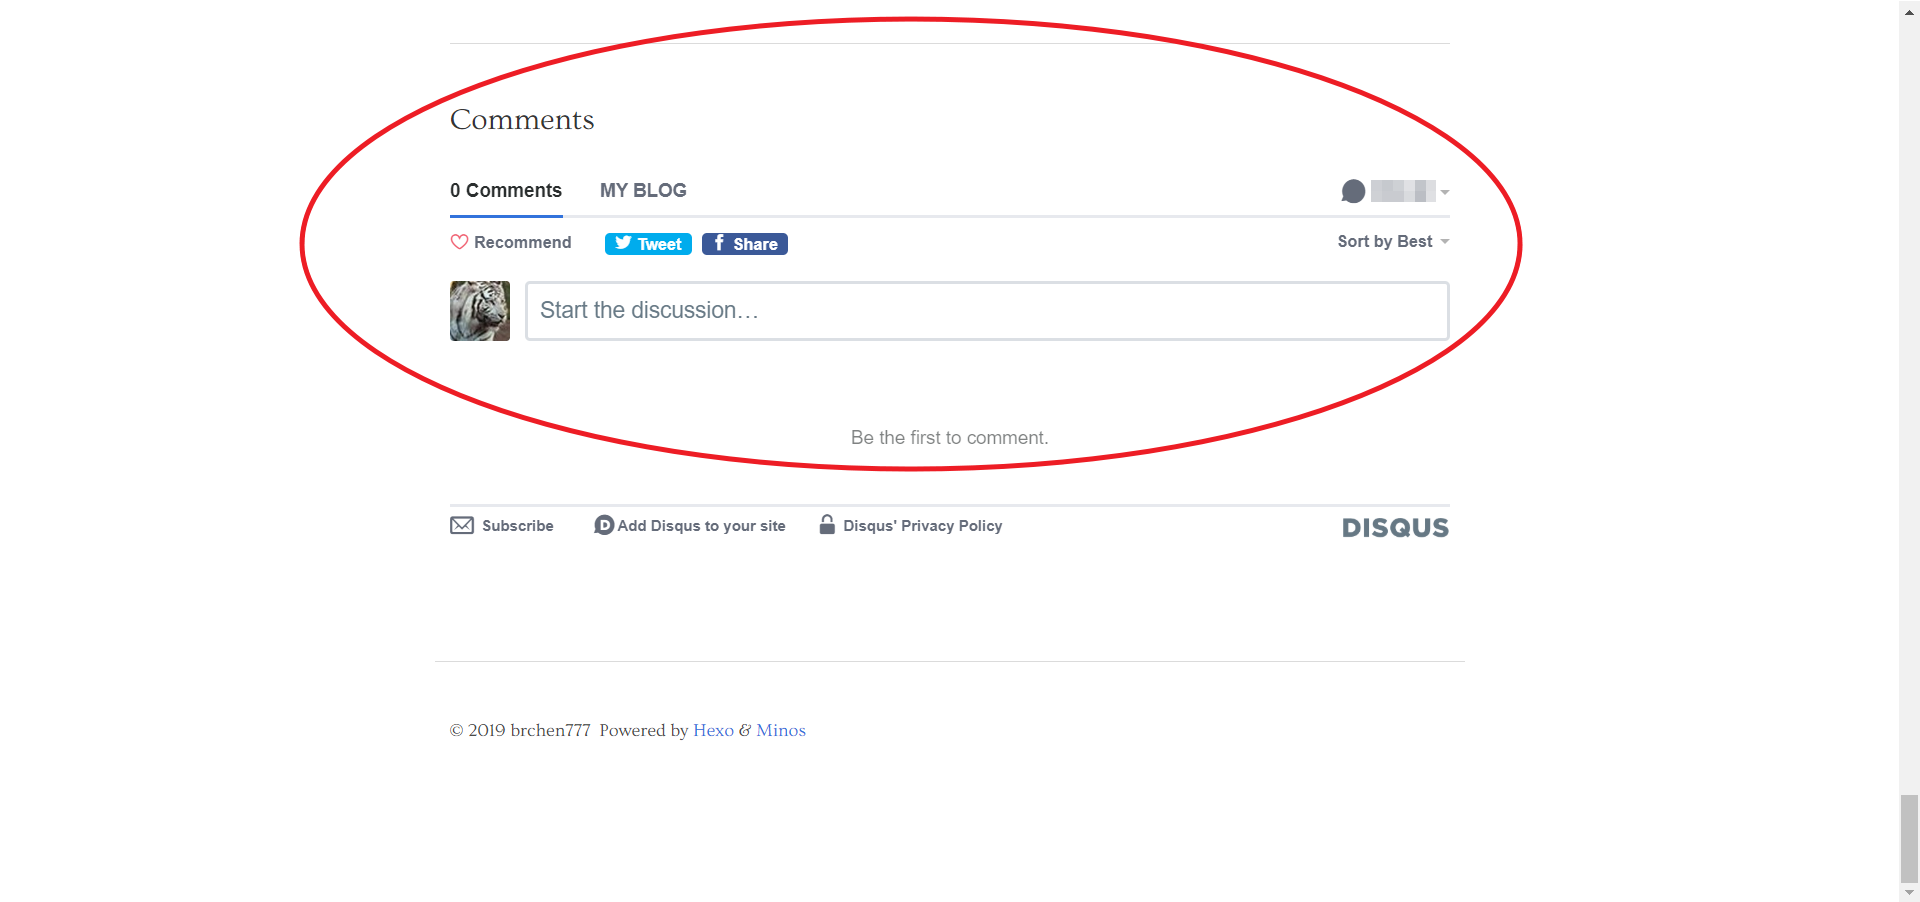
設置成功的話網誌最下方會出現留言功能
追蹤
這邊是用 Google Analytics
Google 帳號登入
新增網站
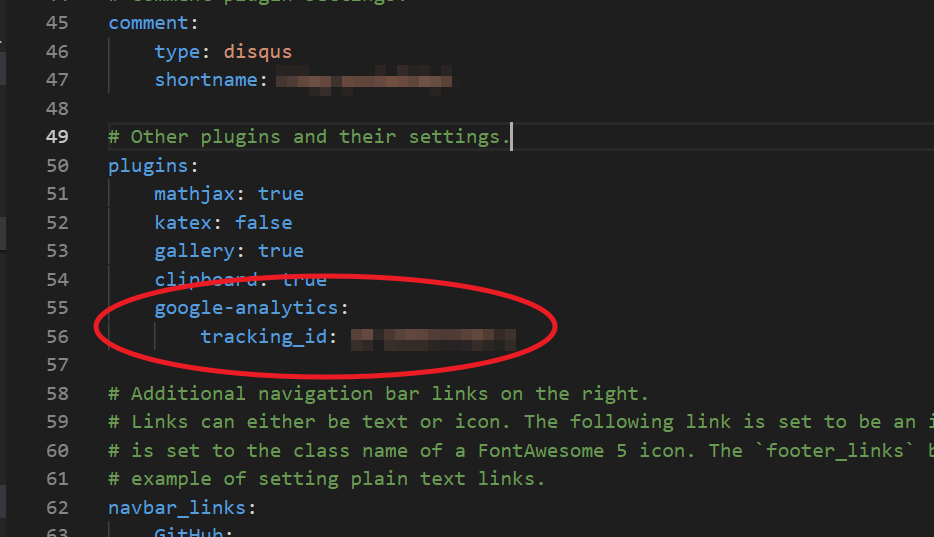
追蹤碼貼到 /themes/minos/_config.yml 的 “Other plugins and their settings.” 的 “google-analytics” 的 “tracking_id”
調整網站 Menu
Menu 是這個:
可到 /themes/minos/_config.yml 來做調整:
更換 DNS Server
Google Domains 的功能滿陽春的
因此換到 CloudFlare 多了一些分析功能 (有些要付費)
註冊帳號
點選 “Add a Site”

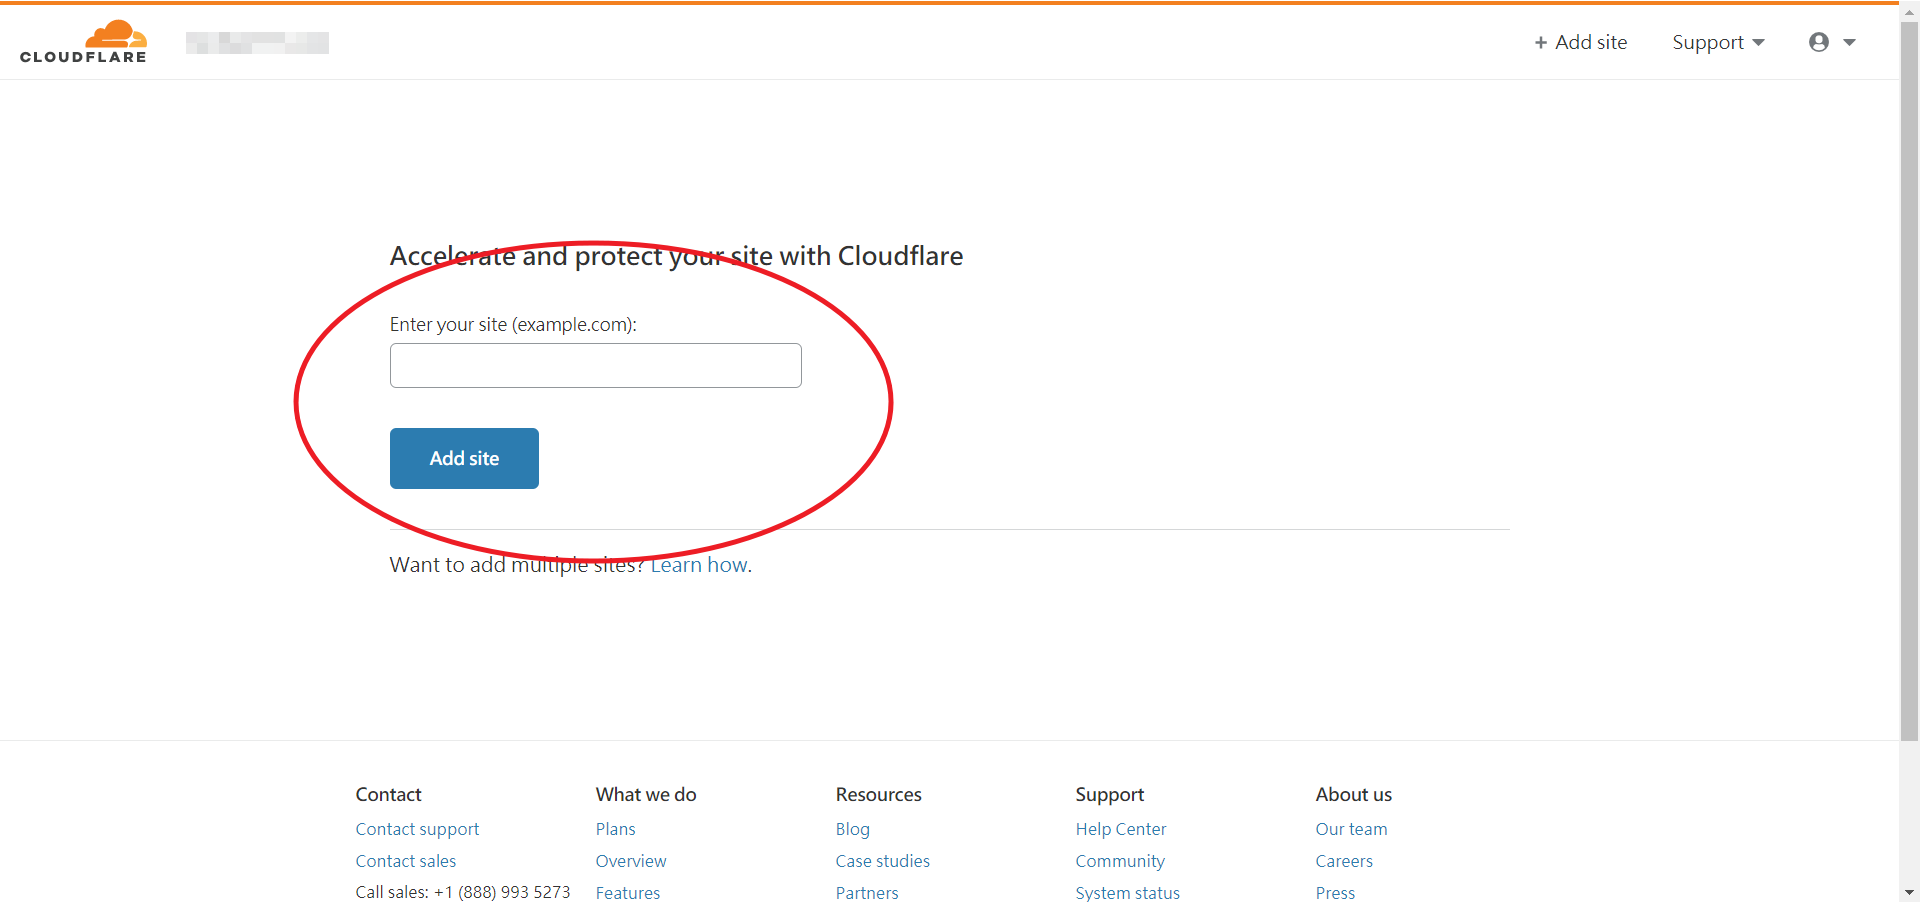
填入 Blog 網址後點選 “Add site”
等待 CloudFlare 掃描
基本上 “電子郵件轉寄” 與大部分 “自訂資源記錄” 的設定都會完整複製過去
有缺少再補即可 (如 VPS 設定沒有複製過去)複製 CloudFlare 提供的 DNS Server
回到 Google Domains -> DNS -> 名稱伺服器
選擇 “使用自訂名稱伺服器” 並填入剛複製的 DNS Server 網址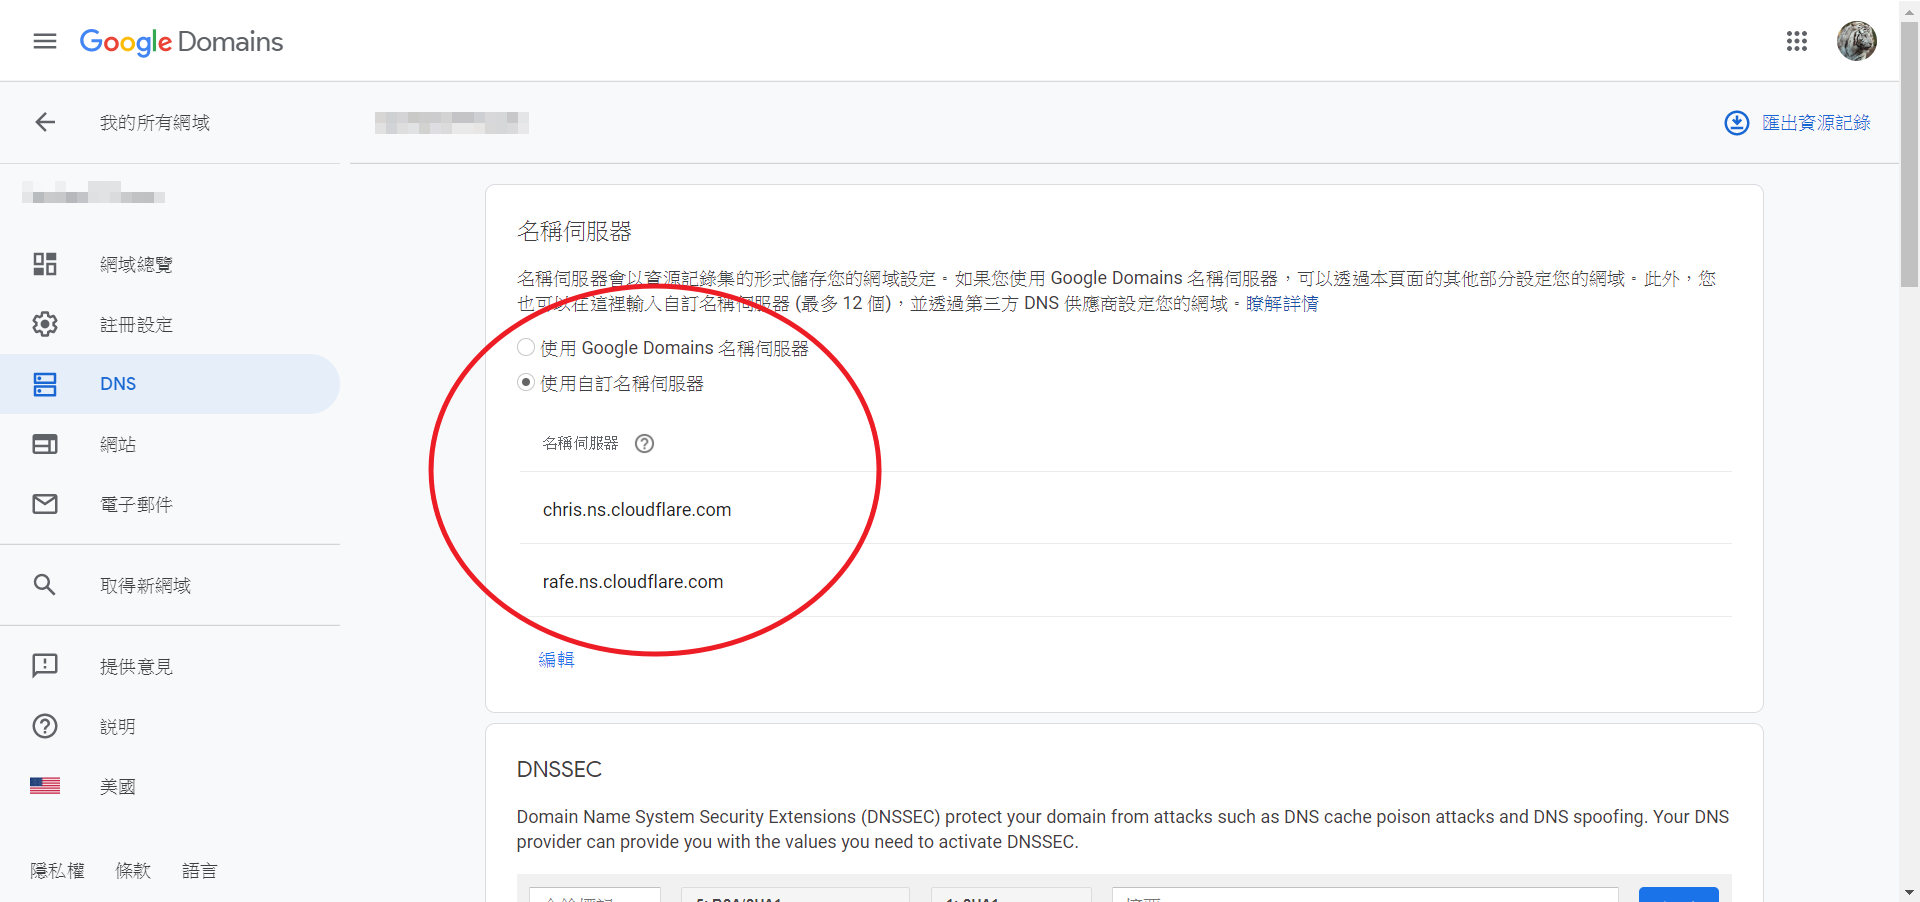
更新 Blog 後刪除 Cache
使用 CloudFlare 後,網站就會有了 Cache 功能
如果你更新網站想馬上看線上站的結果
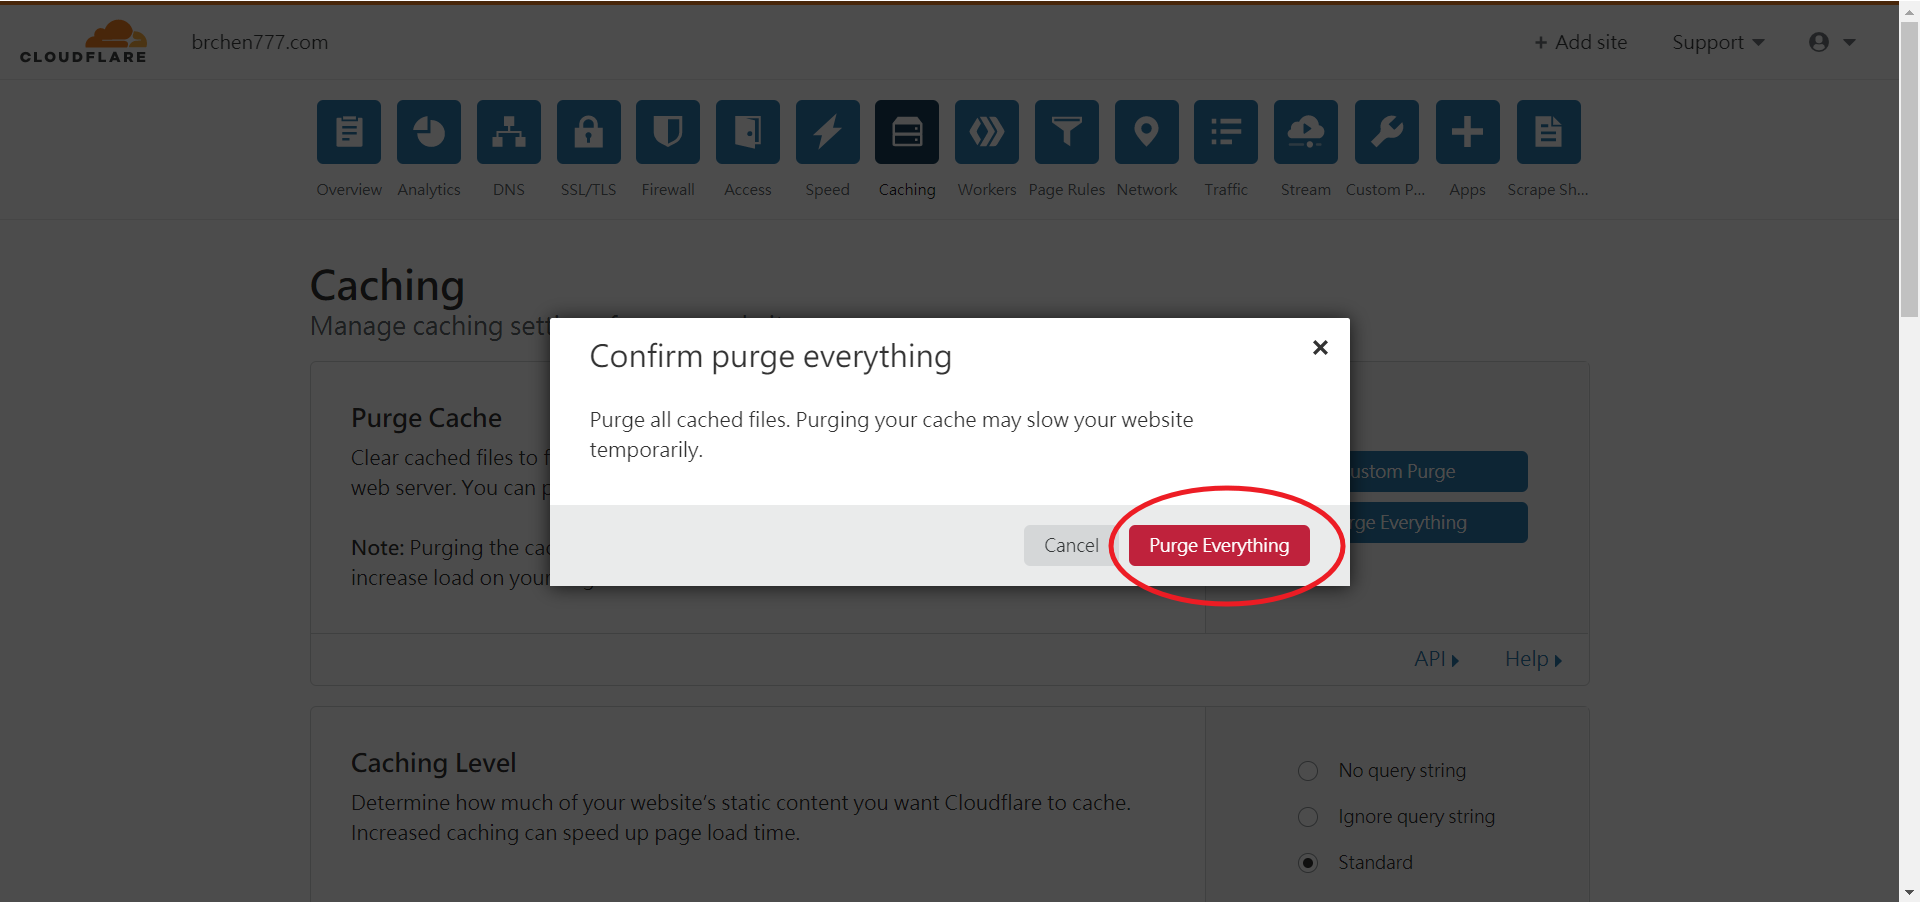
可到 Caching -> Purge everything,點選 “purge everything”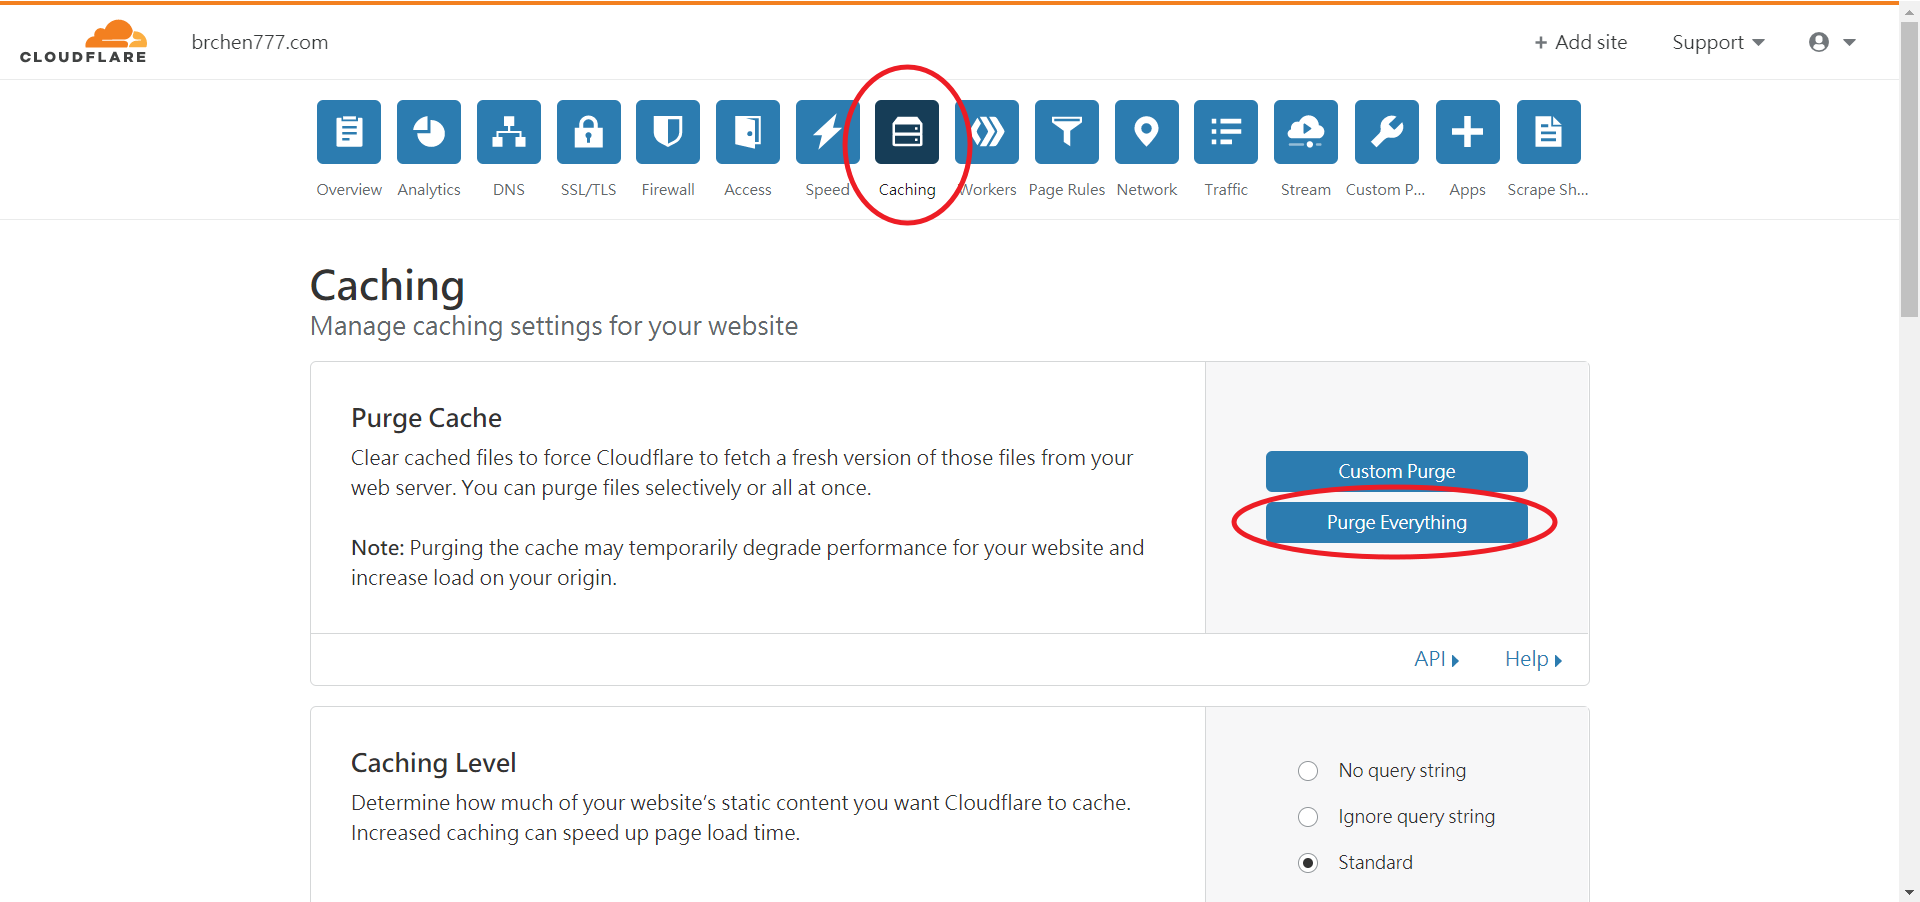
Comments